Timelines let you categorize your focus sessions. You can attach a timeline before, during, or after a session – it helps you see exactly where your time went.
Selecting a timeline from the dropdown before starting a session.
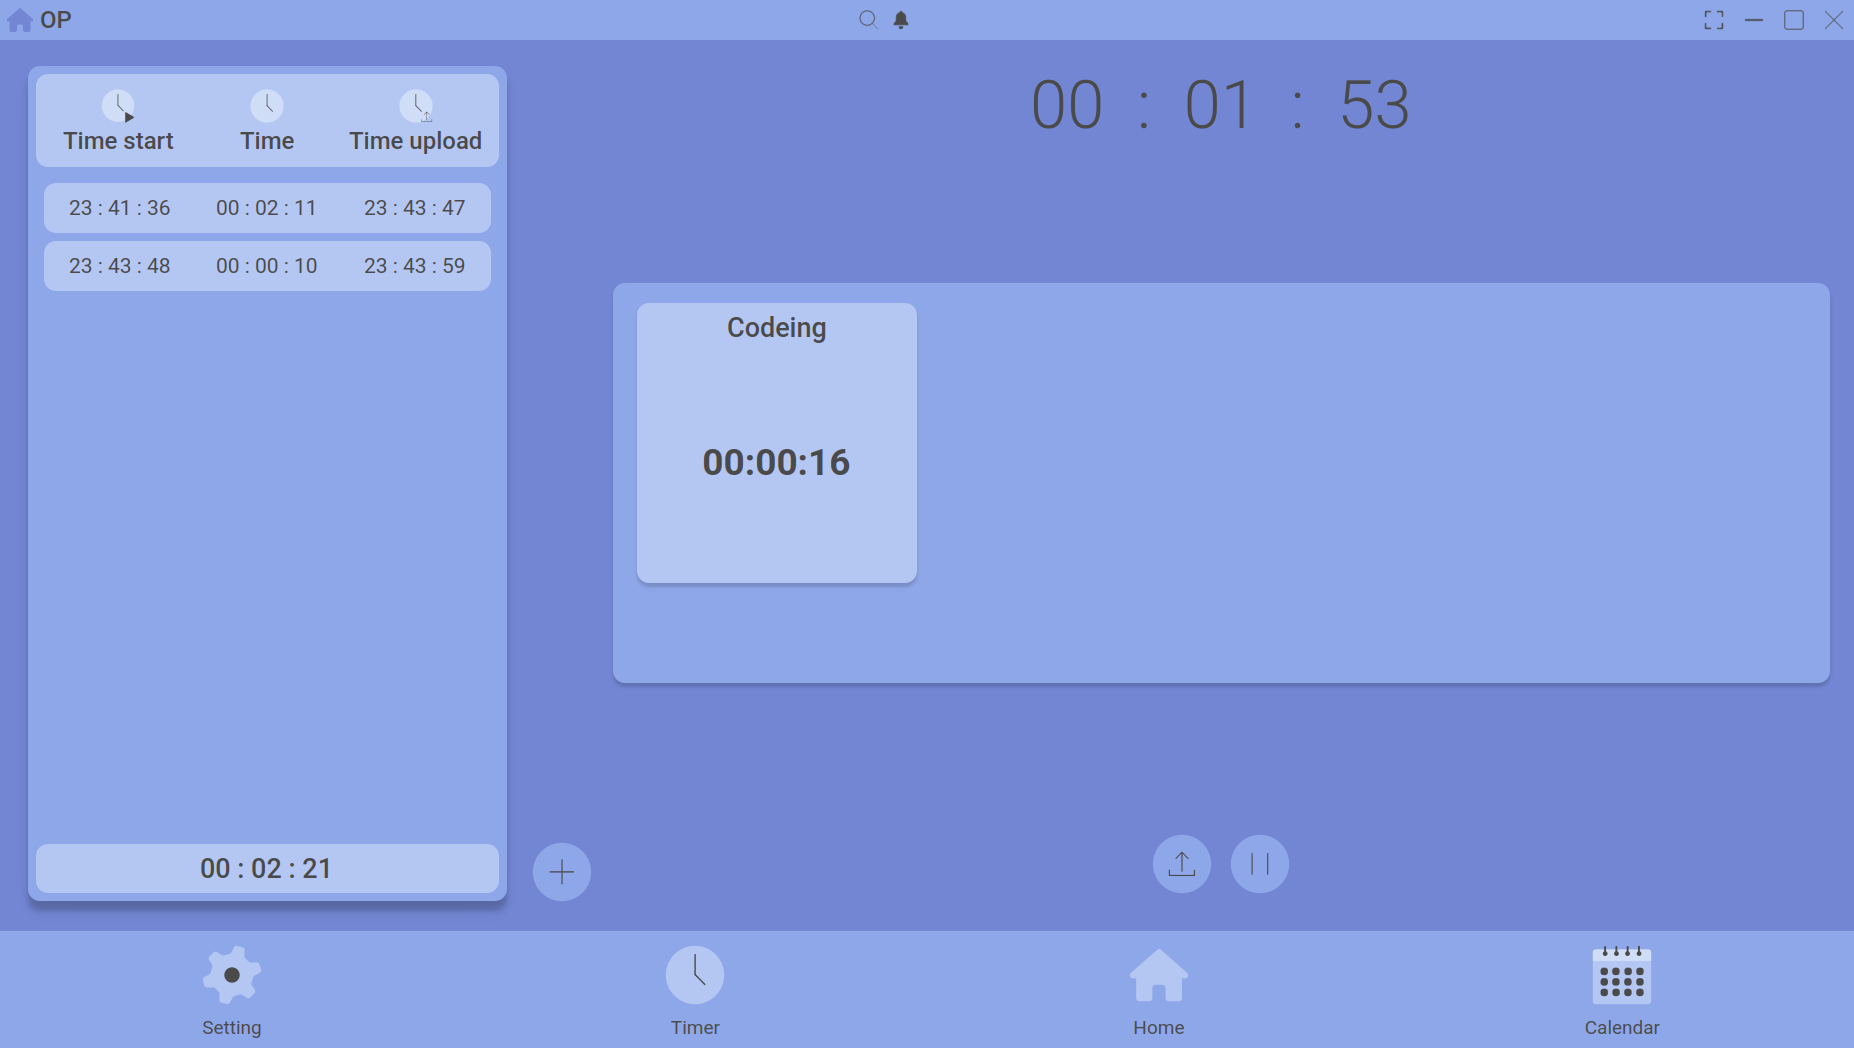
What is a timeline?
A timeline is a named category (e.g., “Design”, “Coding”, “Study”) that you assign to a session. Later, you can view cumulative time spent per timeline on the Calendar and Home Dashboard.
Setting a timeline
- Open the Timer page.
- Click the timeline dropdown (above the timer buttons).
- Choose an existing timeline or create a new one.
- Start your session. The timeline will be attached automatically.
You can also change the timeline while the timer is running, or assign one just before uploading.
Timeline details
Each session can have only one timeline. The timeline name appears in your session history and is used for grouping on charts. If you don’t pick one, the session is stored as “Uncategorized”.
To see total time per timeline, check the Calendar → Timeline view or the charts on the Home Dashboard.
Next: Session Upload & History.