The Timing tab lets you visually plan your day using a 24‑hour grid. Drag time bars to block out work sessions, breaks, and routines – exactly the way you want to spend your time.
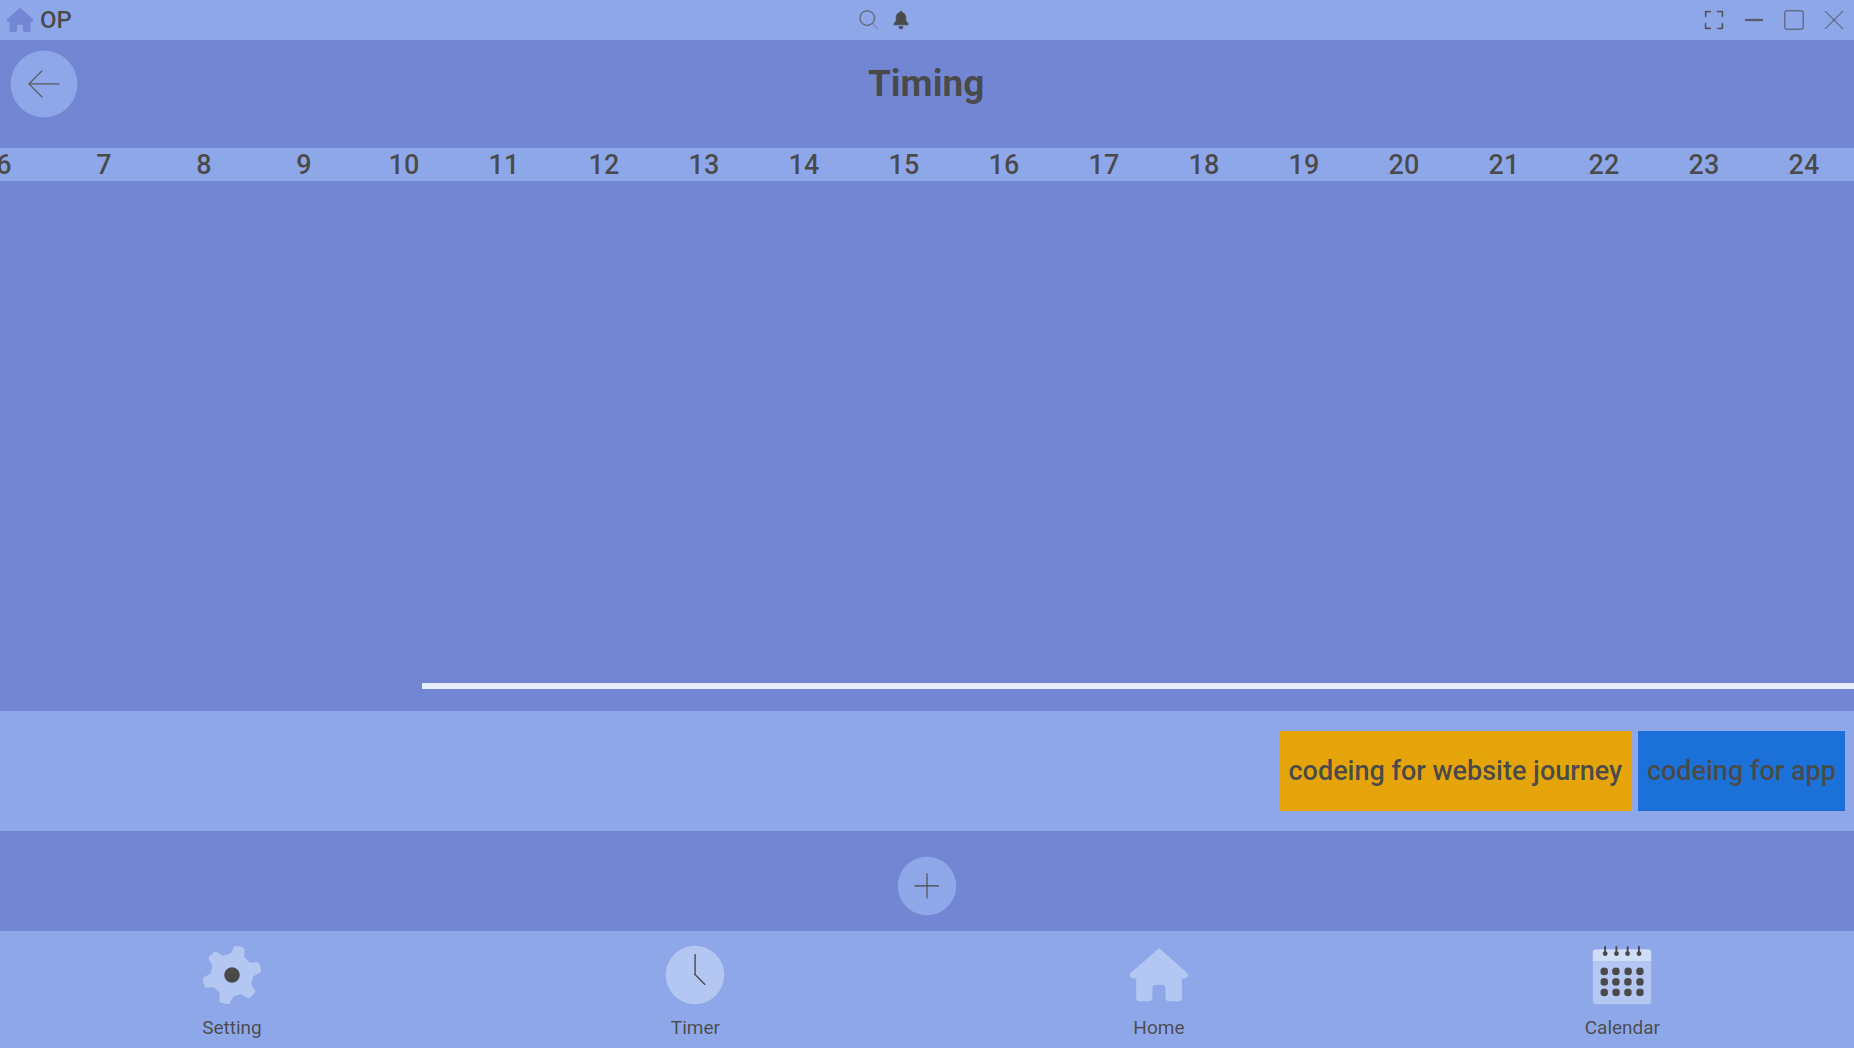
The timing grid – each coloured bar represents an activity block.
How to use the grid
- On the Calendar, select a date and click the Timing tab.
- Click the + Add Timing button (or double‑click an empty slot).
- Give the block a name, pick a colour, and set a start and end time.
- Click and drag the block to move it; drag the edges to resize.
What the colours mean
You can assign any colour to a timing block – use a simple scheme like blue for work, green for study, orange for exercise, or create your own system.
Persistence
Once saved, timing blocks stay on their assigned date. When you open that date again, the grid is exactly as you left it. This makes it perfect for planning tomorrow’s schedule.
Working with templates
If you find yourself repeating the same blocks every day, create a template using Customize Day and apply it with one click. The grid fills instantly.
Does the timer sync with timing blocks?
Not directly – timing blocks are for planning, not for automatic time tracking. However, you can compare your planned blocks with your actual timeline entries at the end of the day using the Summary tab.